# AI@EDGE Workshop
Course materials for AI@EDGE workshop.
# Raspberry Pi OS image
This workshop is optimised to run on a Raspberry Pi 400 (opens new window) or any other Raspberry Pi 4 (opens new window) device.
Make sure to install the 64-bit Raspberry OS (Buster version from 2021.05.07).
The image can be downloaded here (opens new window).
Use Raspberry Pi Imager (opens new window), Win32DiskImager (opens new window) or BalenaEtcher (opens new window) to flash the SD card.
Change the keyboard layout to your preference, in the workshop case: French (azerty).
# Install software packages
Setup script to install all requirements and dependencies to do the AI@EDGE workshop. Make sure you have an internet connection when doing this!
bash <(curl -sL ai-edge-workshop.netlify.app/setup.sh)
Installing all prerequisites can take a long time
Some parts of the script can take quite a while (installation of setup.py bdist_wheel of h5py, numpy, etc) to install. The setup may take up to 1 to 2 hours to complete, depending on your system.
Possible errors
When running the setup script it is possible that there are some errors and warnings indicated by red text. This is normal due to compatibility issues with the current Raspberry Pi OS. Fortunately we don't need those dependencies for the examples in the workshop and these errors can be ignored.
# Hardware requirements
Necessary hardware to do the workshop:
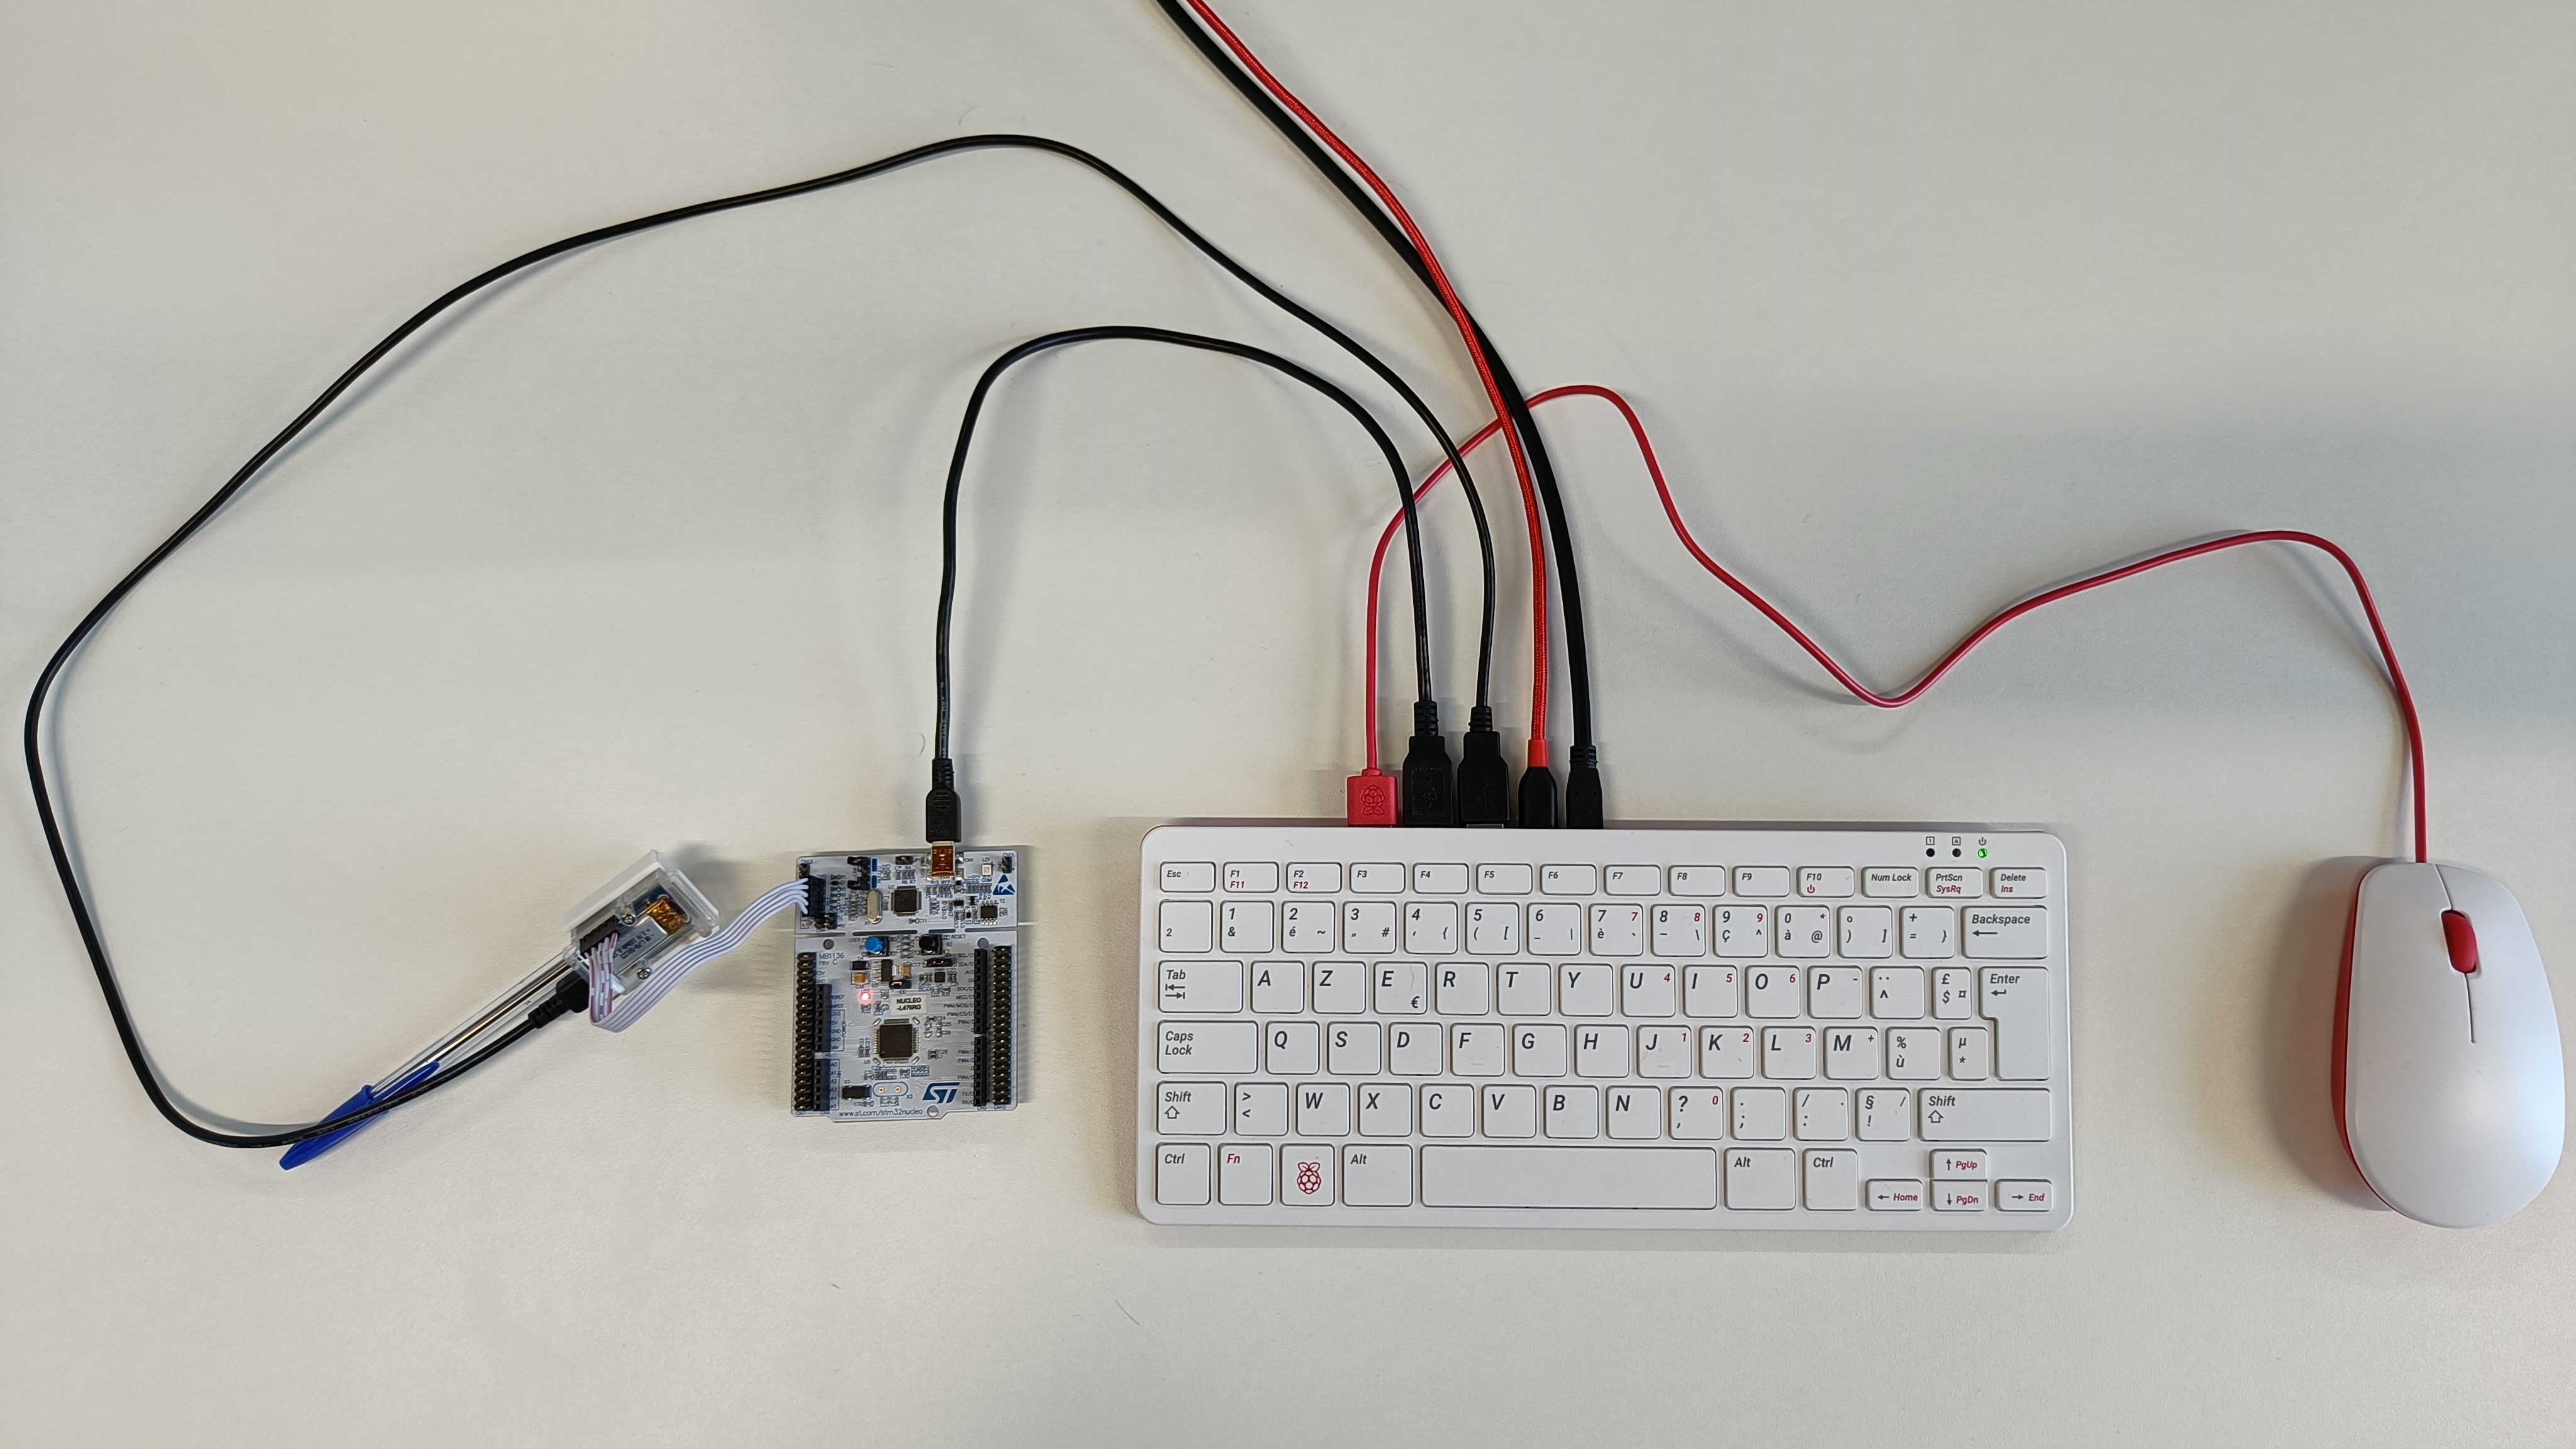
- Raspberry Pi 4 (opens new window) or Raspberry Pi 400 (opens new window) with Screen, Mouse, Keyboard, SD card with the correct OS. Only Raspbian buster 64 bit (opens new window) is supported.
- Nucleo-L476RG (opens new window) or any other STM board with programmer (opens new window) and USB cable
- STM Sensortile (opens new window) with programming cable, cradle, USB cable
- Mounting system to mount the Sensortile to a pen (3D printed holder (opens new window))

# Project files
All project files can be found in the repository of the AI@EDGE workshop. The files are cloned in the "Documents" directory when running the installation script.
# Getting started
We are getting started with a small example which goes through all the steps from data creation to running your model on a microcontroller in the introduction.
# Issues
Feel free to submit issues and enhancement requests.
# Contributing
Please refer to each project's style and contribution guidelines for submitting patches and additions. In general, we follow the "fork-and-pull" Git workflow.
- Fork the repo on GitHub
- Clone the project to your own machine
- Commit changes to your own branch
- Push your work back up to your fork
- Submit a Pull request so that we can review your changes
NOTE: Be sure to merge the latest from "upstream" before making a pull request!
# License
This work is licensed under a Creative Commons Attribution-ShareAlike 4.0 International License (opens new window).
