# Deployment
In the Edge Impulse menu, go to the Deployment-tab.

Instead of running the neural network in Edge Impulse with the Live Classification method and the edge-impulse-data-forwarder, we are now going to run the model directly on the Sensortile microcontroller. Therefore we need to extract the model from Edge Impulse by using the deployment functionality.
# Downloading the impulse as a library
Edge Impulse gives us several methods to deploy the impulse or the neural network to your device of choice. Two main methods are available:
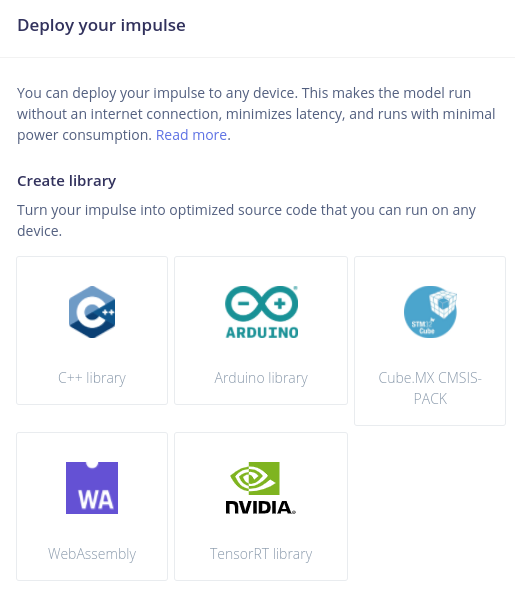
- Create a library which we can use in our development tool of choice.
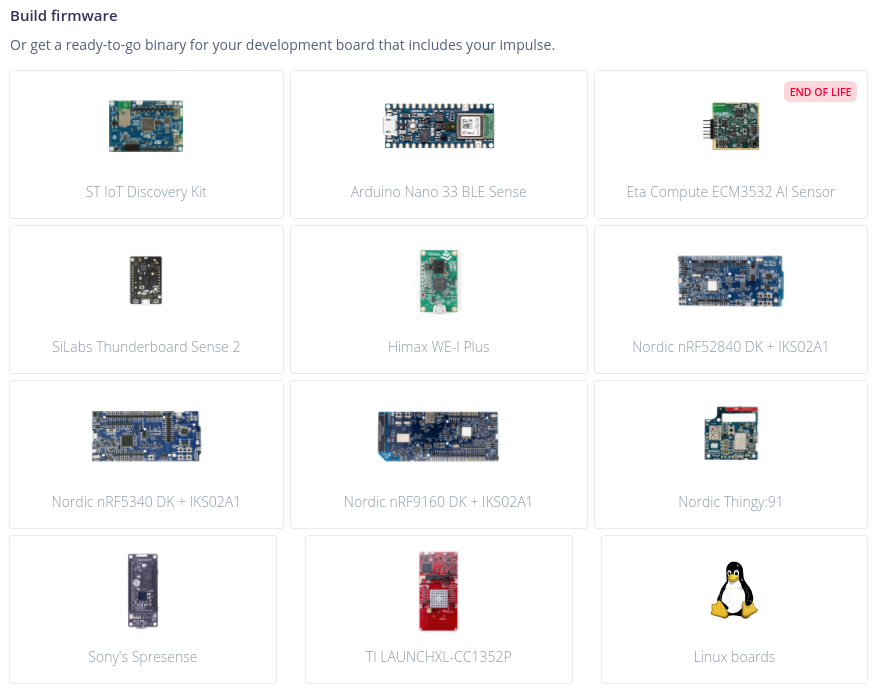
- Build the firmware directly for a specific device.
Under create library we can see several commonly used development tools and their corresponding library exports, such as Arduino, Cube.MX from STM, TensorRT from Nivida etc.
Under build firmware we can see several hardware edge-devices which are directly supported by the Edge Impulse framework. For example the ST, Arduino and Nordic development boards.
As our device is not listed in the device list, we are going to download the optimized source code under Create library. Because we are using the mbed tools to compile and deploy our code to the Sensortile, we are going to specify the C++ library export. In this way we can use the exported files as normal C++ libraries in our mbed project.

Selecting the library type does not give us a library yet. Scroll down the page to see more options. Edge Impulse gives us the choice to use their optimisation tool "EON" to improve the size of the model even more.
Edge Impulse EON Compiler
The EON compiler is not a completely new runtime, it still uses Tensorflow Lite for Microcontrollers under the hood and is also the reason why the latency numbers will be exactly the same with and without enabling the EON compiler. Tensorflow Lite for Microcontrollers has a generic model interpreter and interpretes and runs the model at runtime. EON will compile the neural network to C++ source code so it can be directly run on the microcontroller without first interpreting it. By compiling the neural network to source code the interpreter is not necessary, more data can be placed in ROM memory and the linker will know exactly which operations are being used. In this way a lot more code can be eliminated and less resources are used. More information can be found here (opens new window).
As can be seen in the figure below we now have four options to export the library:
- Disabled EON compiler & Unoptimized (float32) model
- Disabled EON compiler & Quantised (int8) model
- Enabled EON compiler & Unoptimized (float32) model
- Enabled EON compiler & Quantised (int8) model
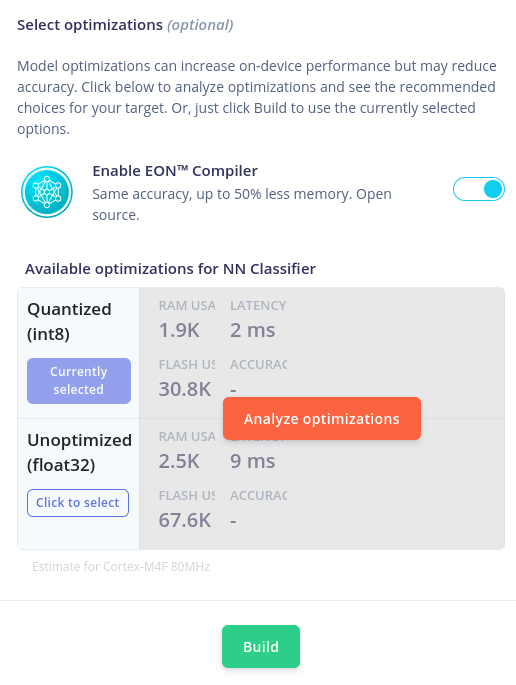
To see the performance difference we can press the Analyze optimizations button. The result will show the performance difference in RAM, latency and the confusion matrix.
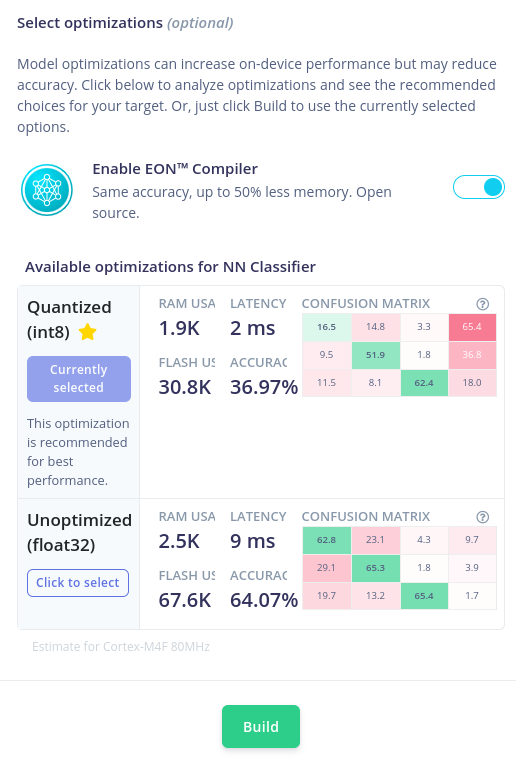
If the device its memory space allows it, any version can be build and downloaded. In our case, we are going to select the EON enabled and quantised model for deployment on the Sensortile. After selecting the right version, press the Build button on the bottom of the page.

After building the library files, a notification should come up on Edge Impulse and a download should be ready to save to our file system. Download the file in the /home/pi/Downloads folder. After completing the download, the file should be visible at the bottom of the Chromium webpage like this:

We can browse to the Downloads folder by using File Manager in Raspbian. The zip-file should be inside the folder. If not, please retry downloading the library or search for it in another folder.
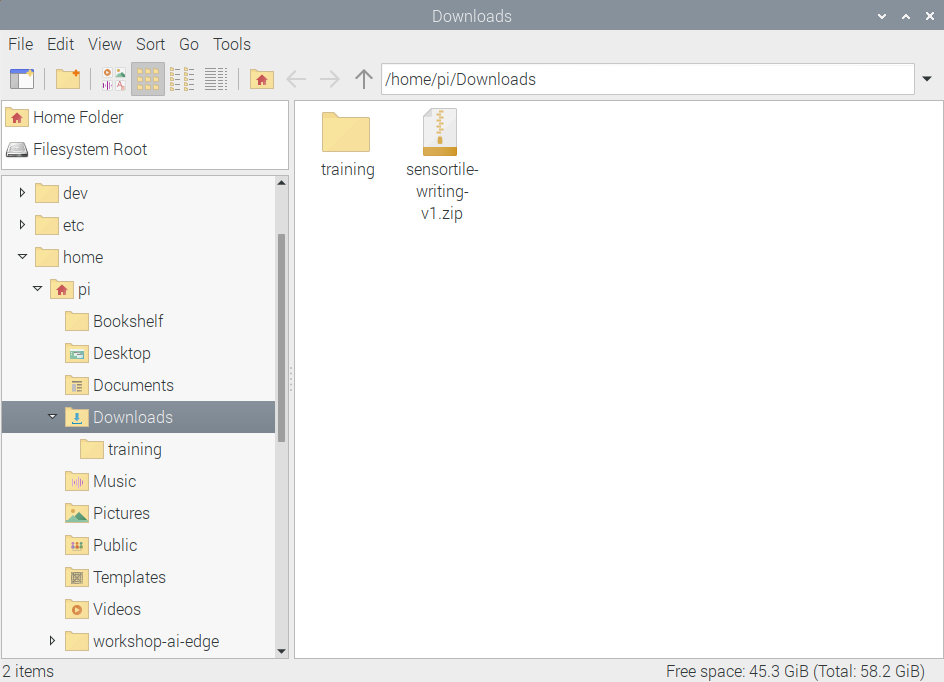
Export the contents of the zip-folder to the folder /home/pi/workshop-ai-edge/AB-writing-standalone-inference-mbed by either
- Double-clicking the zip-folder and drag-and-drop its contents to the folder OR
- by right-clicking the zip-folder and selecting the right folder to export the files to.
The zip-folder contains four items:
- An edge-impulse-sdk-folder: Contains the SDK of Edge Impulse with all required libraries for classification, feature extraction etc.
- A model-parameters-folder: A folder with three files that contain the metadata or parameters of your project.
- A tflite-model-folder: Contains the (EON) compiled version of the selected model. This will contain the structure and weights of the (quantised) neural network we created.
- A CMakeLists.txt-file: the configuration file if we would compile the code using the "cmake"-command.
After extracting the files to the standalone mbed project folder, the contents should look like this:
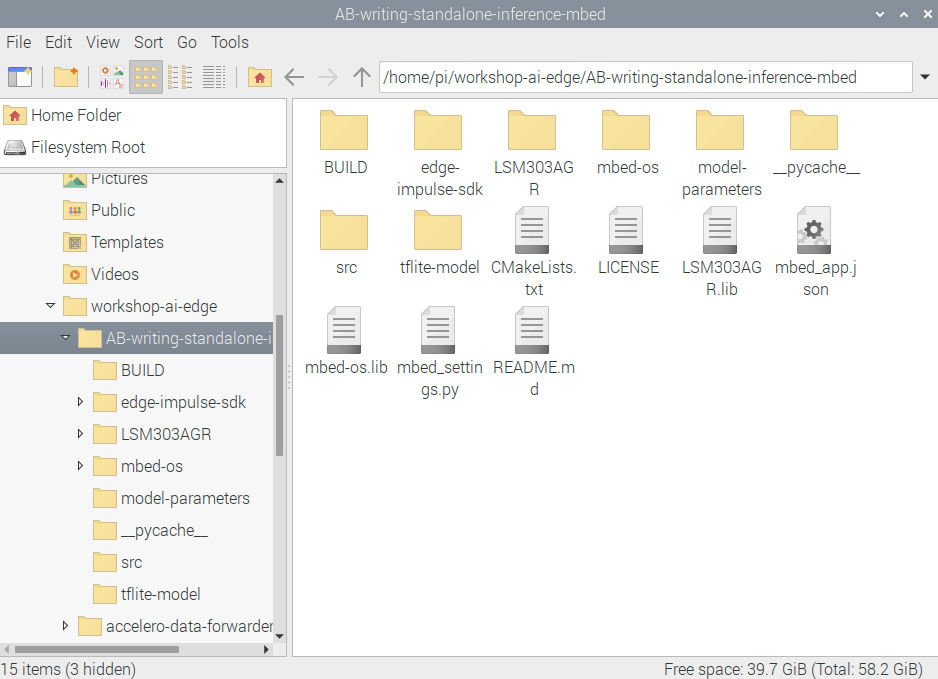
Some missing folders
It is possible that there is no BUILD and __pycache__ folder, this is normal (these are created by compiling the code).
# Compiling the code
We now have a mbed-project which is ready to be compiled and placed on the Sensortile. The code in the src folder has been prepared to accept an impulse with raw features and uses the same code to capture the accelerometer values from the component.
Make sure the NUCLEO and Sensortile are correctly connected to the computer and to each other. If this is not the case, go back to Inspecting the firmware to re-connect everything.
Now we can return back to the mbed-cli terminal to compile the firmware. To flash the binary file to the Sensortile, we can run the compilation with the flash argument:
pi@raspberrypi:~/workshop-ai-edge/accelero-data-forwarder $ mbed compile -f
After the compilation output, the command should automatically copy the binary file to the Sensortile and re-connect. The pop-up window with the notification of a removable medium should come up again. Close it.
# Live classification on the Sensortile
Finally, the code should be running on the Sensortile. You can now disconnect the NUCLEO from the computer and the Sensortile.
The firmware will do the following steps:
- Initialise all peripherals (serial port, accelerometer, timers)
- Capture data from the accelerometer for 600 ms at 100 Hz. (if you changed the window length and frequency, this will also be changed automatically)
- Extract the features from the raw accelerometer values.
- The impulse will be invoked to classify the window with data.
- The statistics from classifying the data are shown.
- The classification output is shown.
- A led is flashing according to the selected output (which letter or status).
- Repeat, starting from step 2.
To observe the live classification while you are physically writing text or moving the edge device we can check the terminal output of the Sensortile. This can be done by running the following script in a mbed-cli terminal:
mbed term -b 115200 -p /dev/ttyACM*
Replace the * with the correct number of the serial port which your Sensortile is connected with. (you can find this by typing until ACM and press "tab")
If everything goes well, a similar output as below should be visible in the terminal.
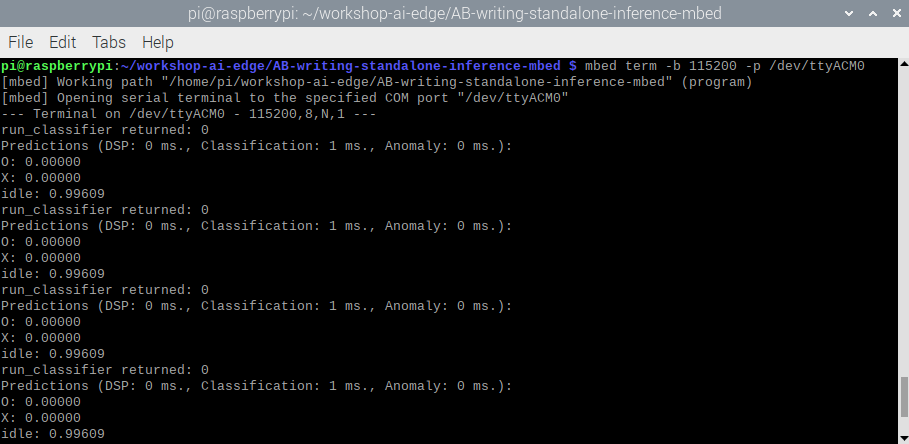
We can see the output of the program, where it shows the error output of the classifier (0 means no error), the prediction metrics and the classifier output with the certainty of each label.
# What's next?
This is the end of the workshop. We have performed all the steps required to go from an idea to a working prototype on an edge device. We have inspected the hardware, captured data, extracted features, configured and trained a neural network, deployed to the edge device and classified live data.
You should now be able to create other projects with neural networks on edge devices, adjust the current project to achieve better performance and expand with other functionalities. The possibilities are endless.